What is it Like to Get a Skin Biopsy for (potential) Skin Cancer— on your nose?
What is it like to get a skin biopsy for a suspicious lesion on your nose? If you are headed into a dermatology appointment and have an area of concern, it’s essential to be prepared for what might happen during your appointment. After a few years of normal skin checks, I didn’t expect a biopsy on my nose. It was shocking and not a pleasant procedure to endure. I wrote this to help you be better prepared than I was for this process!
Unlike breast biopsies, which are typically scheduled in advance, a skin biopsy can happen during your dermatology appointment.
This is convenient and shocking! Suddenly, a routine appointment becomes a procedure.
So, if you have a dermatology appointment on your calendar (and you should because we all have skin), read this before you head to the office. This way, you know what to expect if your dermatologist decides to do one during your appointment.
Update: Shortly after I posted this, my results showed up in the MyChart portal with a note from my dermatologist. The biopsy was benign! YAY!!!!
Disclaimers and Affiliate Notice: This information should be considered general information on the topic and not medical advice. As an Amazon Associate, I earn from qualifying purchases.
Identifying the Area for a Skin Biopsy
Even before my appointment, I knew the spot on my nose was a concern. Last year, my dermatologist noted it on my chart and wanted me to watch it for any changes. Over the past several weeks, it has been getting inflamed. I had put a variety of creams on it to see if they would help, but nothing worked.
I was hoping that he could examine it and prescribe a cream or use his liquid nitrogen to freeze it off.
But that wasn’t the case. Upon close examination, he decided the most prudent course of action was to get a biopsy of the spot for accurate pathology.
Blah. Yay for thorough dermatologists and boo for another potential cancer.
I hate biopsies, and I had gone to the appointment on my own. What was I in for?
Preparing for a Skin Biopsy (there isn’t much time to do so)
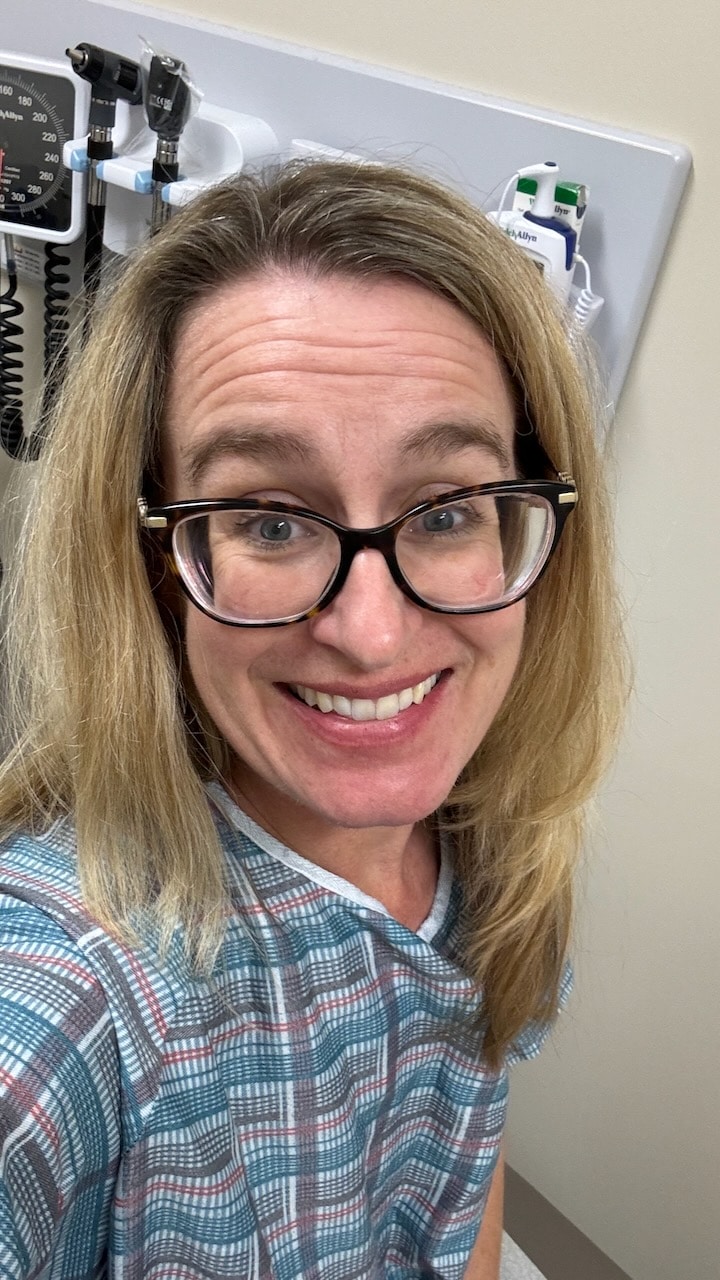
As soon as the dermatologist finished the skin check, it was time to move on to the biopsy. Before anything got started, I let him know that I get extremely anxious during these procedures and also have a history of passing out.
My dermatologist already has a kind and personable bedside manner, but once I shared this with him, he took it up several notches. He grabbed his phone and asked me what my favorite music was. With the low-fi vibes going, he then set up the exam table so I was reclined and supported. He assured me he and his team would support me throughout the biopsy.
I sat back and began deep breathing. This was going to be hard, especially since it was my first.
Skin Biopsy Numbing- the WORST part
Once the doctor and his nurse came in, I handed them my glasses. I didn’t need to see the procedure, especially since it was going to be performed on my nose.
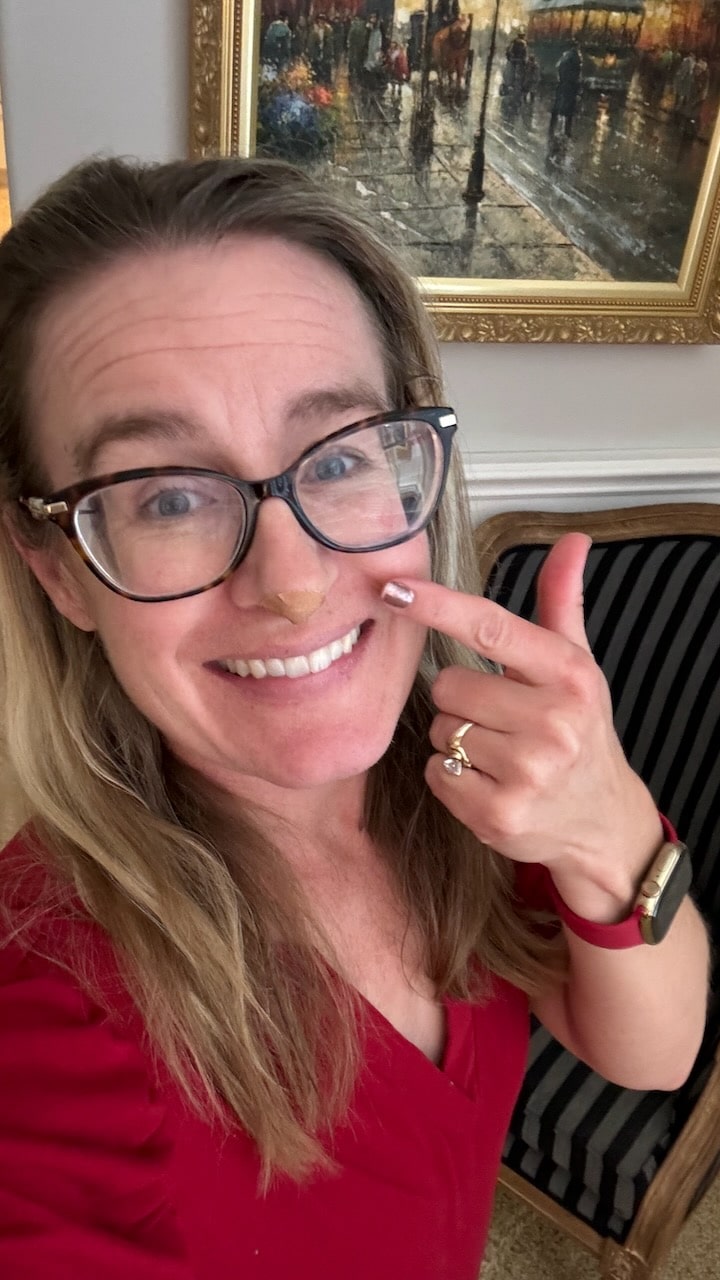
They cleaned the area, and then it was time to get numb. This is done via local anesthetic, which means it’s delivered via an injection. In my case, the needle was inserted from the tip of my nose and traveled up the bridge of my nose.
The nurse held my hand, the doctor warned me it would hurt, and I felt it go in. The pain was intense and increased for what seemed like an eternity. I gripped the nurse’s hand even tighter and felt the tears streaming down my face.
It was awful— far worse than any of the numbing I remember from my breast biopsies. Surprisingly, I didn’t pass out.
And then, it was over. He removed the needle, and I breathed a sigh of relief.
Skin Biopsy Sampling Procedure
After the area was numb, the doctor used his tools to get a sample of the skin area in question. This can be done with either a shave technique or a punch technique. In my case, he used a shave technique that removed a few skin layers to be sent to pathology.
I kept my eyes closed during this procedure and didn’t feel a thing. The numbing had worked well. Once the sample was removed and placed into the container, it was time to prep the area for healing.
Skin Biopsy — Stopping the Bleeding via Cauterization
After the biopsy was finished, my dermatologist let me know that he was going to cauterize the area to stop the bleeding. That procedure was going to smell. The odor was inescapable because it was right on my nose, and he was “burning” my skin.
I felt nothing physically, but it was pretty unnerving to smell my skin burning.
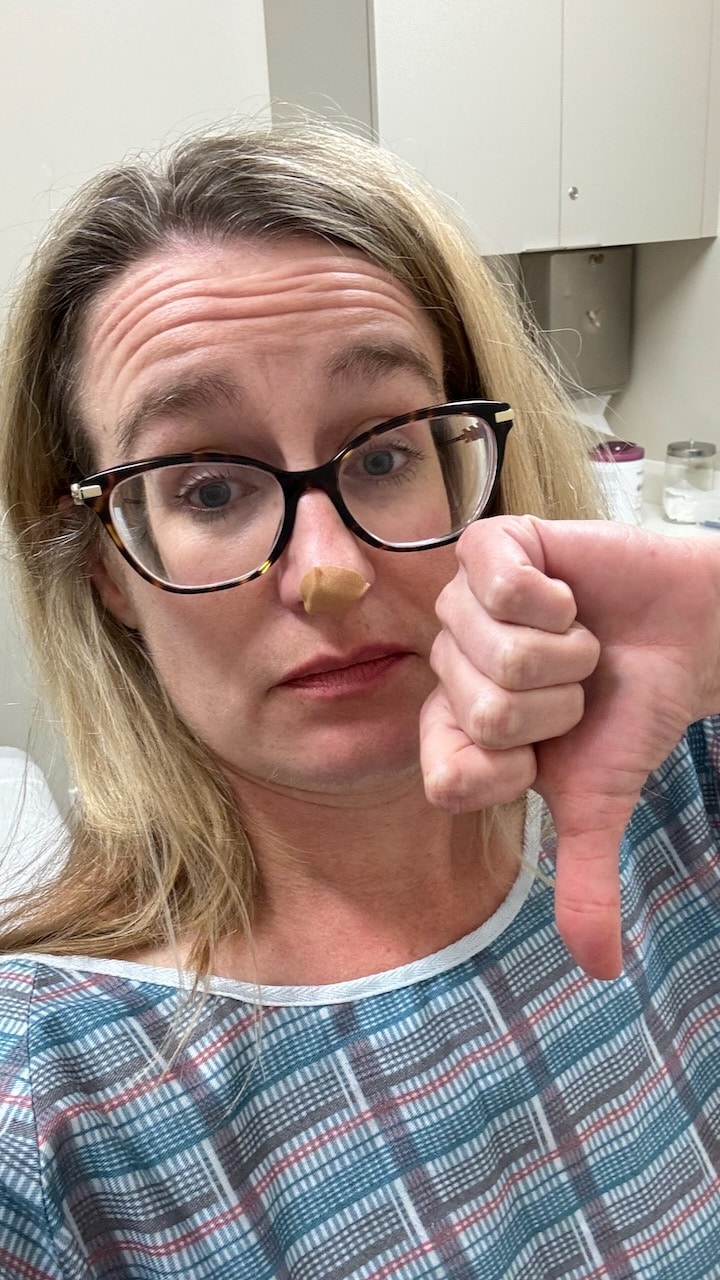
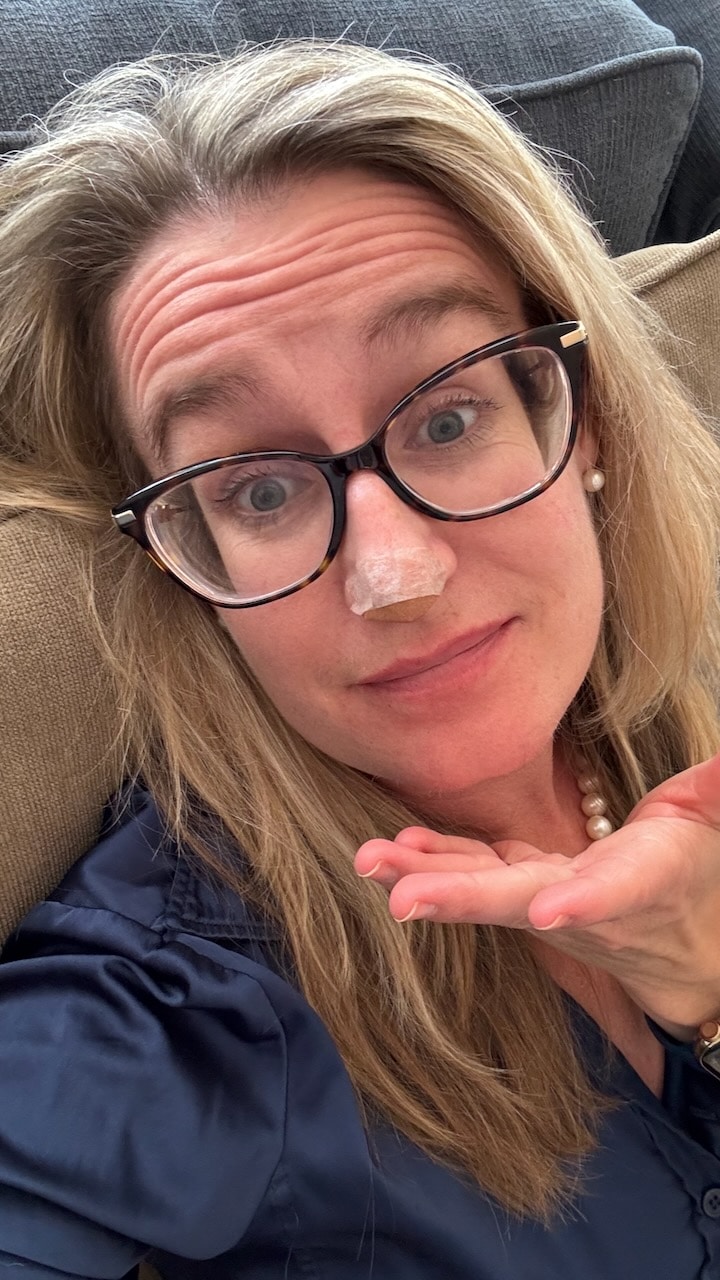
Once he was done, he placed a small bandaid on the area.
I made it, and I didn’t pass out. I felt shocked and traumatized from the numbing, so it was important to get myself in a good headspace before driving home.
Thankfully, I knew just the place.
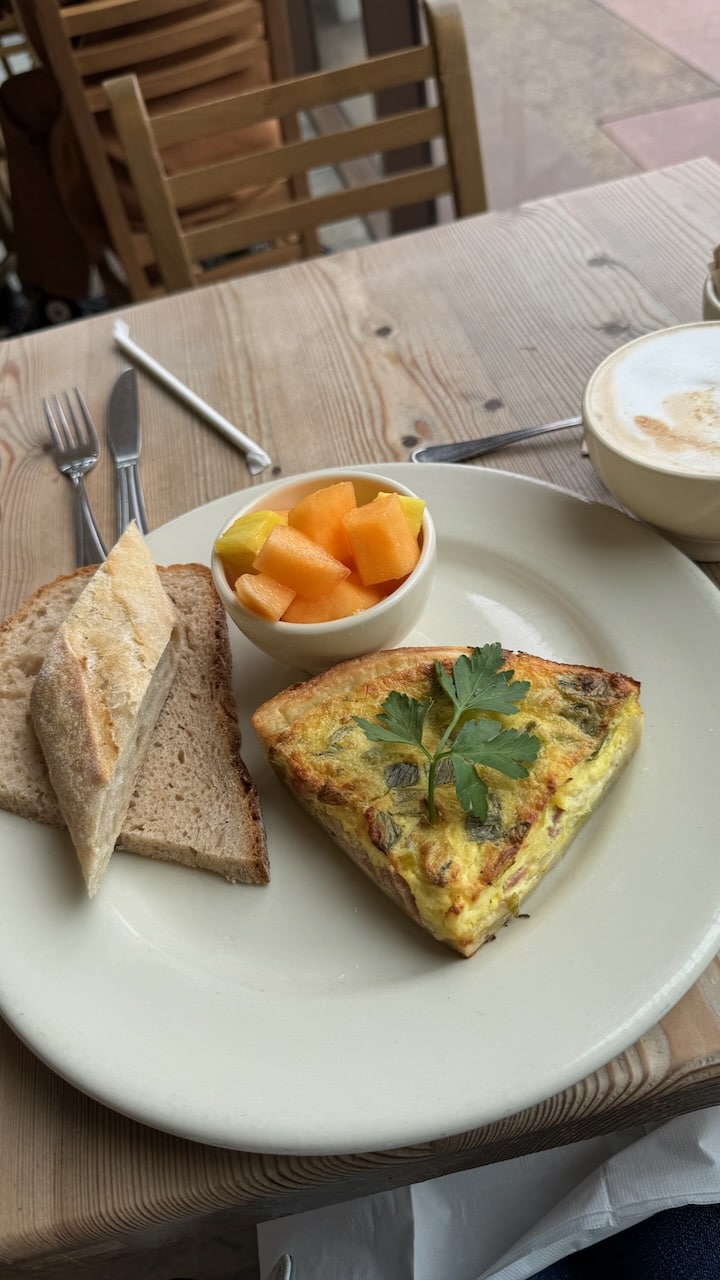
Treating Myself to a Nice Lunch Before Driving Home
I walked to “Le Pain Quotidien” to enjoy a quiche and a cappuccino. I sat there and texted my family that I’d made it through the procedure. I wished I’d brought Dave to this appointment because I was pretty out of it. Physically, I felt okay, but emotionally I was in shock.
Every once in a while, I used my camera to make sure I wasn’t bleeding from the biopsy area. The wound cauterizing worked, and the small spot bandaid was enough.
After about an hour, I was able to get in the car and drive the hour home (with traffic). There was lots of crying in the car as I remembered the procedure and thought about what might need to happen if it was cancer.
The results took about 8 days to appear in the MyChart portal. Thankfully, my dermatologist released them right away with a note telling me it was benign and that no further treatment was needed!
Skin Biopsy Recovery - and a Bandage Tip
I was pleasantly surprised at the recovery from this biopsy. I experienced almost no pain after the procedure. I remember feeling quite sore after my breast biopsies, and I was expecting something similar with a skin biopsy. Apparently, for me, the numbing was the worst part.
I followed these aftercare instructions. Yours might be different, so make sure you follow the procedures given to you by your dermatologist.
- Keep the area covered and dry for 24 hours
- Remove the bandage and wash gently with mild soap two times a day
- Apply a small amount of Aquaphor (affiliate link) to the area
- Cover again with a bandage
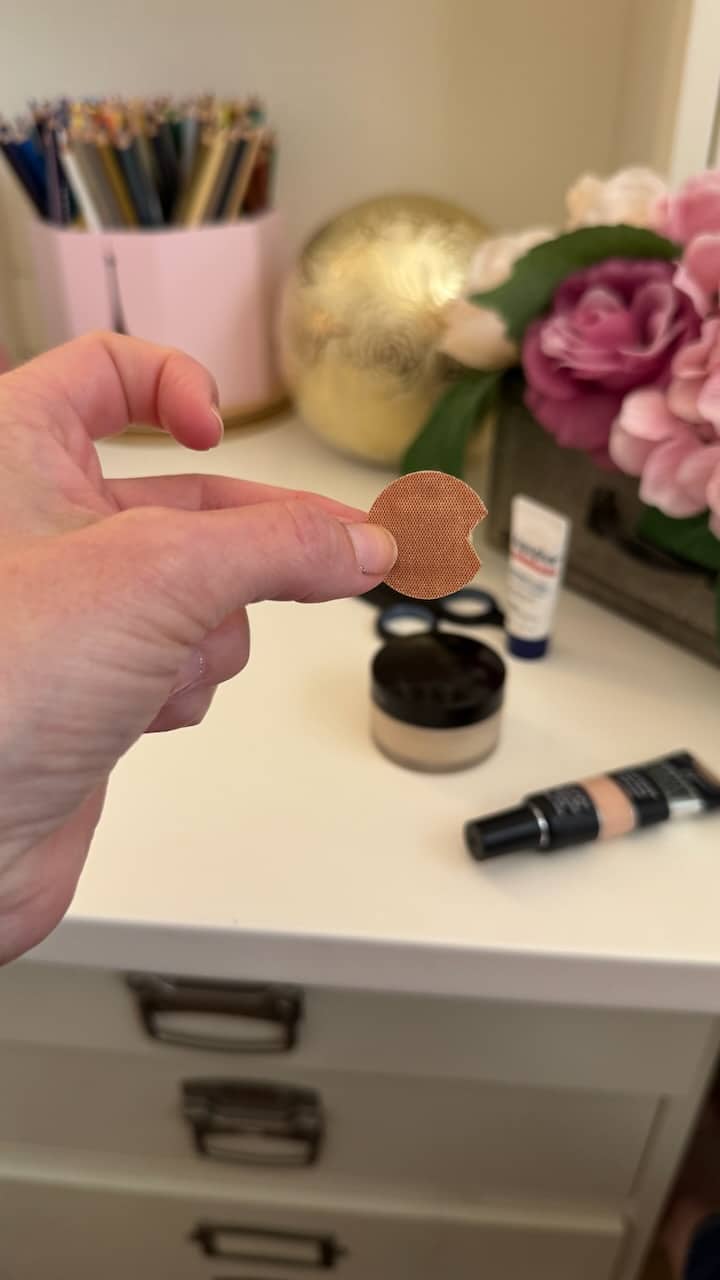
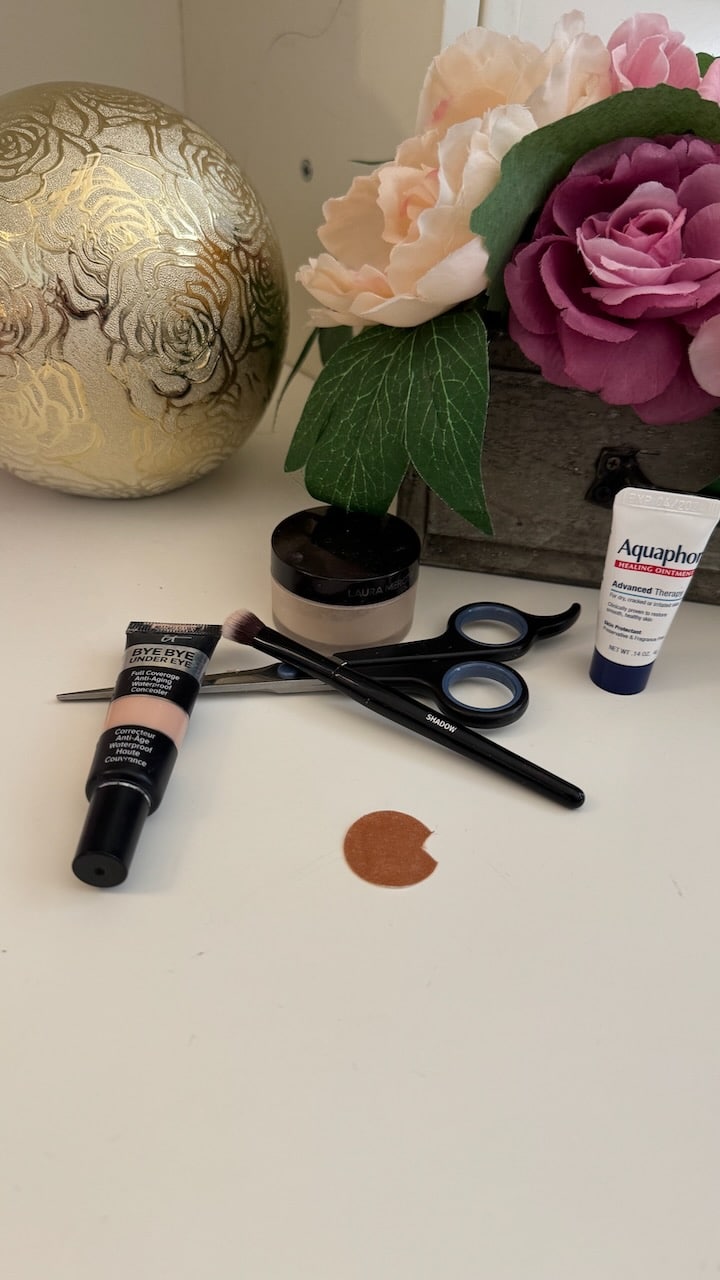
I have been cutting a small wedge off one side of the bandage- making it look like a Pac-Man. This helps me adhere it better to the bottom of my nose.
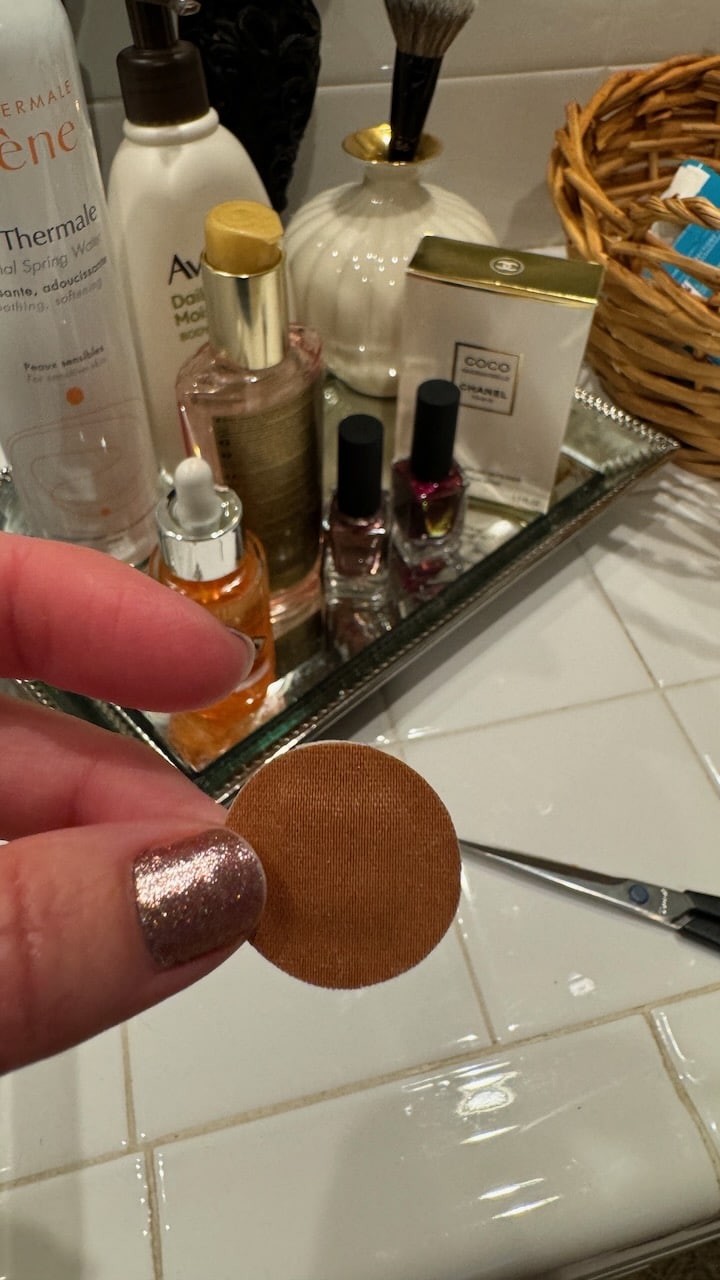
I have a stock of these round bandages (affiliate link) in my home (and they are the same brand given to me by the doctor). They have worked well. Once I apply it, I can almost forget I’m wearing it.
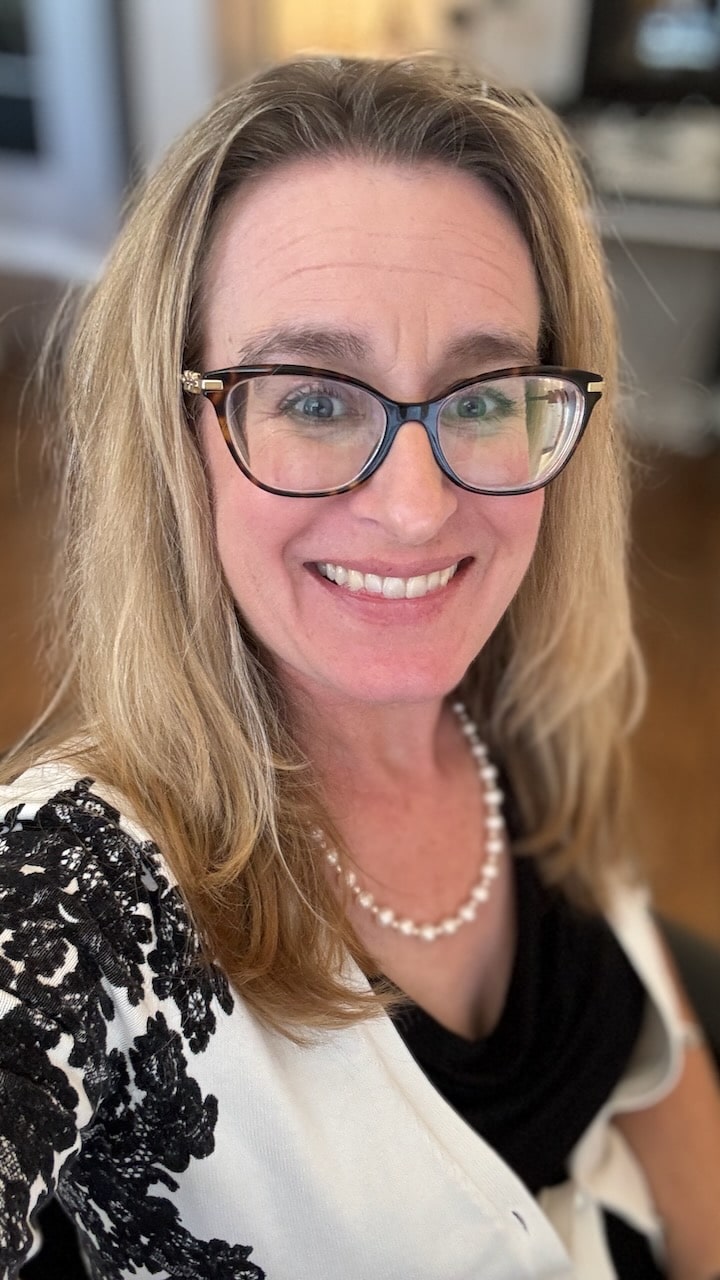
The color blends really nicely with my skin tone, which helps me feel confident about going out while the wound is healing. I’ve been wearing a bandage for about a week now, and most people don’t notice it unless I point it out.
If the color of the bandage doesn’t work for you, TruColor offers four different options for skin tones. Here is an affiliate link to their spot bandages.
Make-up Tips for the Area (once it is mostly healed)
After about a week, I decided to go without a bandage and cover it with concealer and a bit of loose powder during the day. My go-to concealer is Bye-Bye Undereye by It Cosmetics. This product comes in many shades and is buildable so that you can get just the right coverage level. You can find it at Sephora or on Amazon (affiliate link).
After applying the concealer, I used a bit of translucent loose powder by Laura Mercier to set it for the day. I dabbed it on with a brush, which helped the concealer (affiliate link) stay put.
Skin biopsies for potential skin cancer are not fun to go through! I hope this post helps you prepare for your next dermatology appointment and potential skin biopsy.
Jennifer Douglas
Jennifer Douglas is an author, patient advocate, and DCIS breast cancer survivor. After navigating her own breast cancer journey in 2019, she began writing and encouraging others who were newly diagnosed. Her resources include her book, "A Breast Cancer Journey: Living It One Step at a Time," and her online support course, "Encourage: Breast Cancer and Beyond." Jennifer also actively supports patients through her online presence and direct involvement in communities and support groups, offering guidance and encouragement every step of the way.


You May Also Like

When Good Results Don’t Feel Good
March 29, 2025
Slowing Down for More Productivity and Peace
April 12, 2024
One Comment
DEBBIE S
Thank you for this post! I just had my referral appointment with a dermatologist on 2 days ago. I timed the appointment knowing there was a possibilty they could be cutting into my nose that day. It was still very overwhelming and upsetting. And wow, two needles in the nose to freeze it was NOT fun. I had a punch biopsy and it looks pretty awful. The most helpful tip I took away from reading this was the pac man bandaid. The edges of the little round bandaid would not form to the end of my nose. Cutting out the little wedge is a game changer. So thank you for the tips and thank you for sharing your story.